

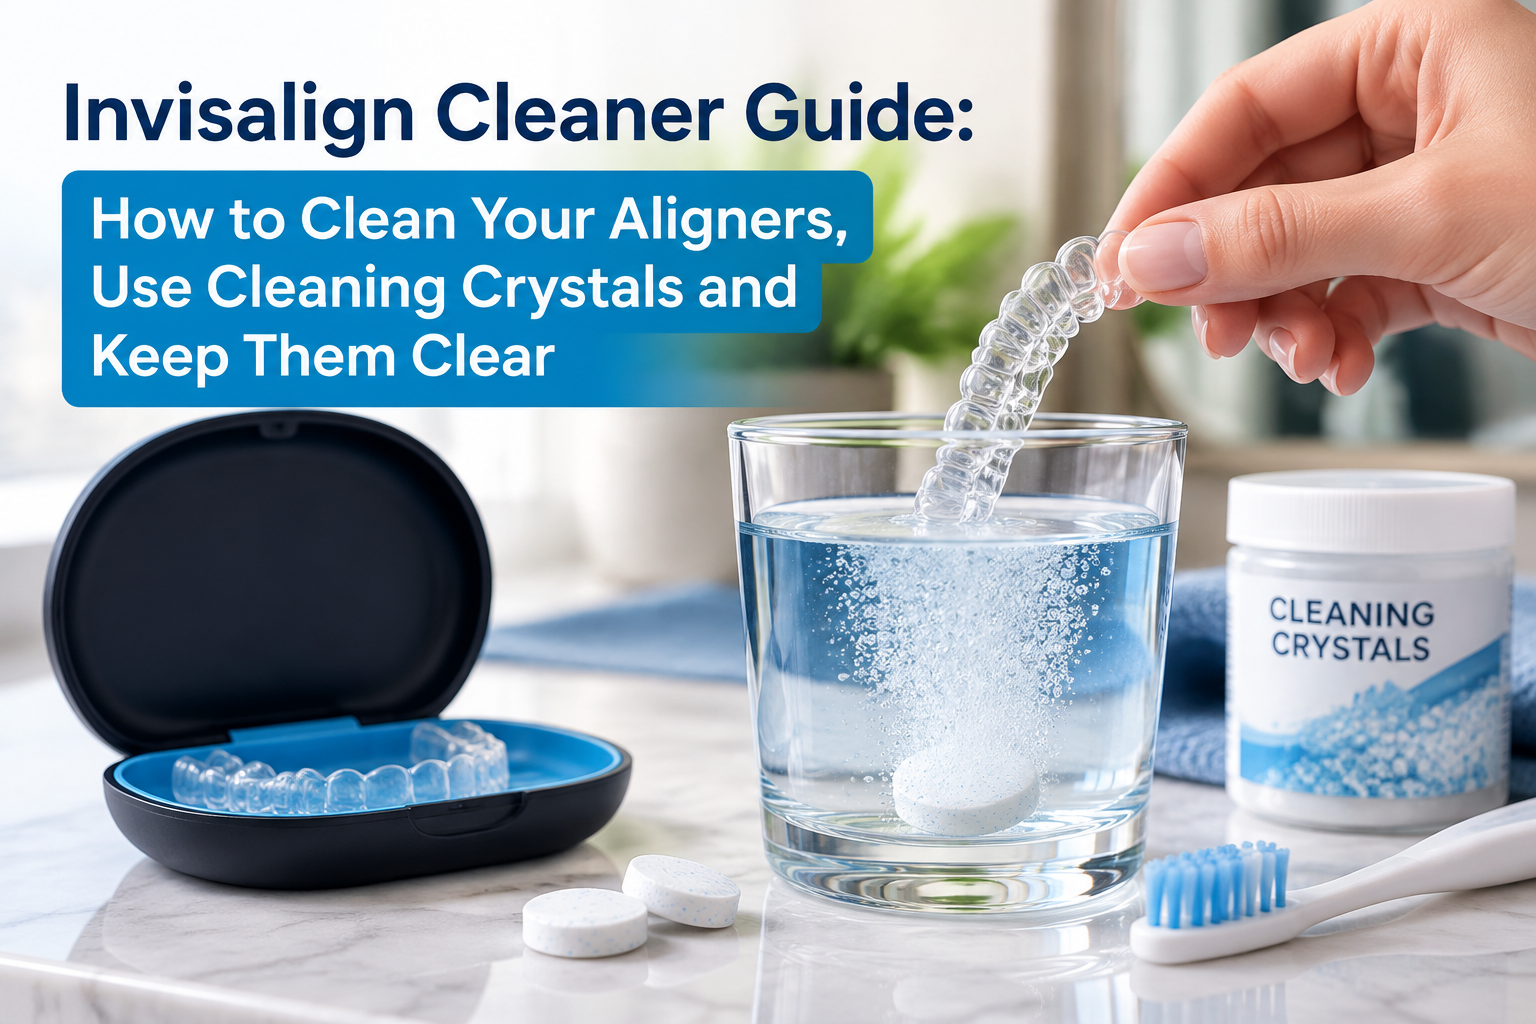
You wear your aligners for 20 to 22 hours a day, so they collect saliva, plaque and bacteria all day long. Within a week they can turn cloudy, pick up yellow stains and start to smell. Nobody wants that in their mouth, and nobody wants to smile through it.
The good news: keeping them clean takes about two minutes a day plus one short soak. This guide covers the best Invisalign cleaner options, exactly how to use Invisalign cleaning crystals, how they compare with cleaning tablets, and how to fix trays that are already cloudy, stained or smelly. It is based on Invisalign’s own product instructions and dental guidance, linked at the end.
Quick answer: how to clean Invisalign aligners
- Rinse your aligners in lukewarm water every time you take them out.
- Brush them gently once or twice a day with a soft toothbrush and clear, unscented liquid soap (not toothpaste).
- Soak them once a day for 15 minutes in an Invisalign cleaner such as cleaning crystals dissolved in warm (not hot) water.
- Rinse well, brush your own teeth, then put them back in.
In this guide
- Why Invisalign aligners get dirty, cloudy and smelly
- Your Invisalign cleaning kit: what you need
- How to clean Invisalign aligners every day
- How to use Invisalign cleaning crystals
- Invisalign cleaning crystals vs tablets vs other cleaners
- How to fix stains, cloudy trays and odour
- Mistakes to avoid
- Your daily Invisalign cleaning routine
- When to see your orthodontist
- FAQs
Why Invisalign aligners get dirty, cloudy and smelly
Aligners sit tight against your teeth for most of the day. That snug fit is what moves your teeth, but it also traps anything in your mouth against the plastic. Knowing the causes makes it easier to stop them.
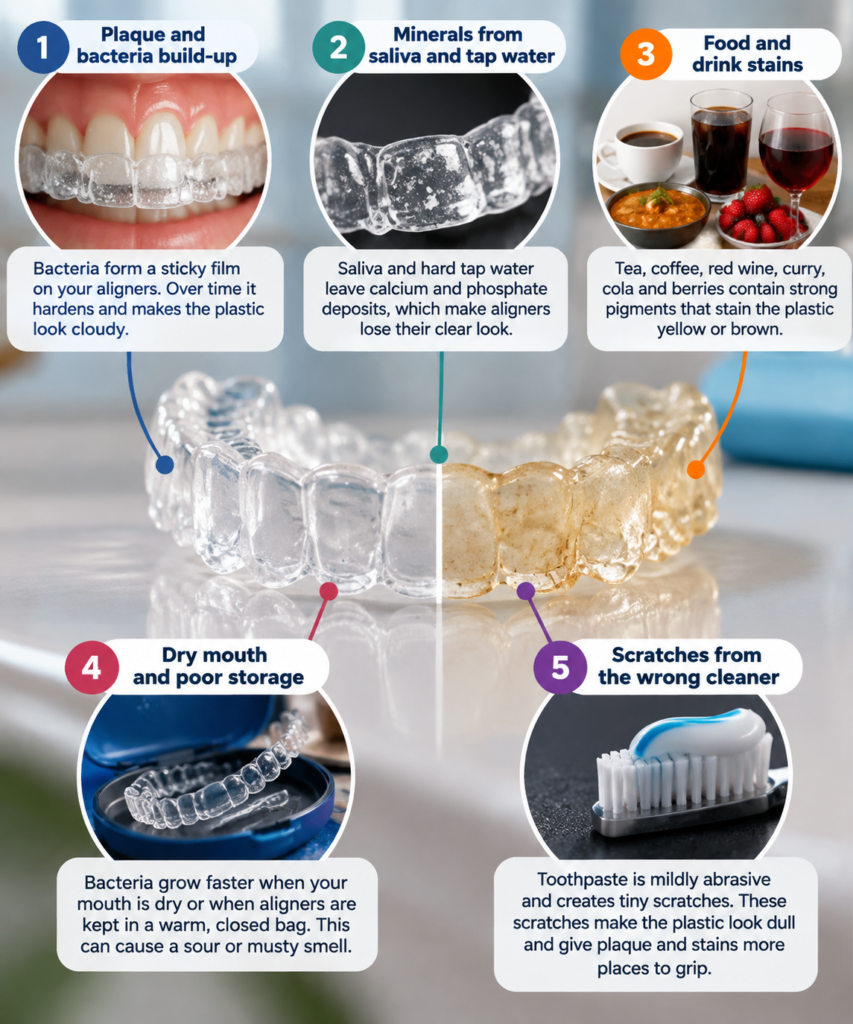
1. Plaque and bacteria build-up
Your mouth is full of bacteria, and they form a sticky film called plaque on everything they touch, including your trays. If you only rinse your aligners, that film stays put. Rinsing removes loose debris; it does not remove the biofilm. Over a few days the plaque hardens into a white, chalky layer that makes the plastic look cloudy.
2. Minerals from saliva and tap water
Saliva contains calcium and phosphate. As it dries on the plastic, it leaves mineral deposits, much like limescale in a kettle. Hard tap water, common across much of the UK, adds more minerals each time you rinse. This is the main reason trays lose their clear look.
3. Food and drink stains
Tea, coffee, red wine, curry, cola and berries all contain strong pigments. Drinking anything other than water with aligners in pushes those pigments into the gap between the tray and your teeth, where they sit for hours and stain the plastic yellow or brown.
4. Dry mouth and poor storage
Bacteria grow faster when your mouth is dry, such as overnight or after exercise. Wrapping aligners in a tissue or leaving them in a warm, closed bag gives bacteria a damp, dark place to multiply. That is where the sour or musty smell comes from.
5. Scratches from the wrong cleaner
Toothpaste is mildly abrasive. Used on aligners, it creates tiny scratches that scatter light and make the plastic look dull. Those scratches also give plaque and stains more places to grip, so the problem gets worse each week.
Your Invisalign cleaning kit: what you need
You don’t need anything expensive. A good Invisalign cleaning kit fits in a washbag and costs less than a takeaway:
- A soft-bristled toothbrush kept only for your aligners, so you never transfer toothpaste onto them
- Clear, unscented liquid soap (washing-up liquid or hand soap without dyes or fragrance)
- An Invisalign cleaner for soaking: Invisalign cleaning crystals, aligner cleaning tablets or a similar retainer cleaner
- A small glass, cup or soaking tray big enough to cover both aligners
- A protective case with air holes for storing aligners when they’re out
- A travel kit (spare brush, small bottle of soap, a few sachets or tablets) for work, school or holidays
Optional extras include an ultrasonic aligner cleaner, which uses vibrations to shake debris loose, and aligner “chewies” that help the trays seat properly. Neither replaces brushing.
How to clean Invisalign aligners every day (step by step)
This is the routine that keeps aligners clear between soaks. Do it at least once a day, ideally morning and night, and it takes under two minutes.
Step 1: Rinse every time you take them out
As soon as your aligners come out, rinse them under lukewarm running water. This stops saliva and food from drying onto the plastic, which is what turns into cloudy patches later. Never use hot water: heat can warp the plastic so the trays no longer fit your teeth.
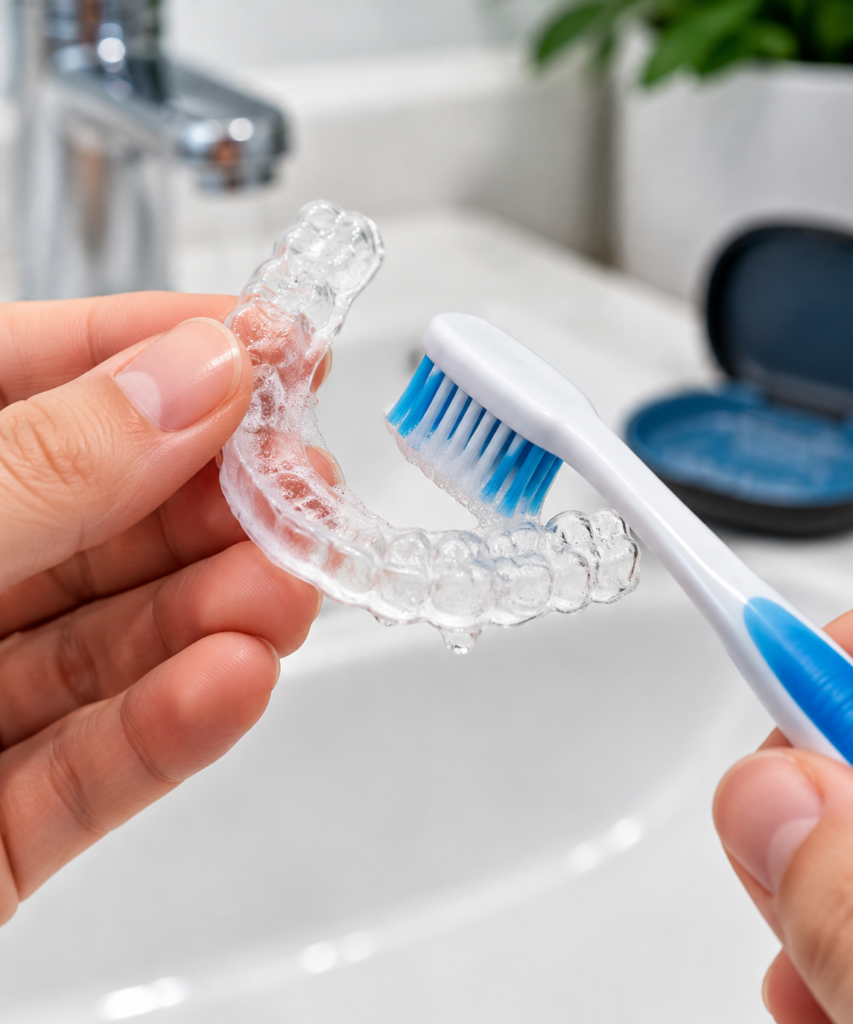
Step 2: Brush gently with clear soap
Put a drop of clear, unscented liquid soap on your aligner-only soft toothbrush. Brush the inside and outside of each tray with light, circular strokes. Pay extra attention to the inside surfaces and the edges near the gums, where plaque collects. Pressing hard won’t clean better; it only scratches.
Step 3: Rinse again thoroughly
Rinse away every trace of soap with lukewarm water. Leftover soap tastes unpleasant and can irritate your gums.
Step 4: Soak once a day
Brushing removes surface plaque, but a soak reaches the corners a brush misses and lifts stains. Use an Invisalign cleaner, such as cleaning crystals or tablets, once a day. Many people soak while they eat breakfast or dinner, so the aligners get cleaned during time they’re out anyway. The next section explains exactly how.
Step 5: Clean your teeth before putting them back
Brush and floss your teeth, or at least rinse your mouth with water, before you put clean aligners back in. Otherwise you trap fresh food and bacteria against your teeth and undo the cleaning.
Step 6: Store them in the case
When the aligners are out, they go in their case. Not in a napkin, not in a pocket. Wrapping them in tissue is the most common way they end up in a bin. Wash the case with warm soapy water every few days and let it air dry.
How to use Invisalign cleaning crystals
Invisalign cleaning crystals are a powder you dissolve in water to make a cleaning solution for aligners and retainers. The current version, Invisalign Cleaning Crystals+, is oxygen-based: as it dissolves, it releases active oxygen that helps lift stains, loosen build-up and kill odour-causing bacteria. It also contains mint oil, so trays come out smelling fresh.
Invisalign cleaning crystals instructions
These steps follow Invisalign’s own product directions for Cleaning Crystals+:
- Fill a glass with warm water. About 100 ml, or enough to fully cover both aligners. Warm, not hot.
- Add one capful (5 g) of crystals. If you have the older individual sachets, use one sachet; always check the instructions on your pack.
- Stir for about 20 seconds until the crystals dissolve.
- Add your aligners and make sure they’re fully under the water.
- Soak for 15 minutes.
- Rinse thoroughly with lukewarm water before putting them back in.
If the trays still have visible marks after soaking, give them a gentle brush with your soft toothbrush, then rinse again.
Invisalign cleaning crystals soaking time
The recommended soaking time is 15 minutes. Leaving them in a little longer won’t usually cause harm, but it won’t clean them better either, and leaving aligners overnight in any solution isn’t recommended. Set a timer on your phone so you don’t forget them.
Using cleaning crystals in an ultrasonic cleaner
If you own an ultrasonic aligner cleaner, Invisalign suggests adding one capful (5 g) to the cleaner’s water tank before starting the cycle. The vibrations and the oxygen-based solution work together, which is helpful for trays that are already cloudy.
How often to use Invisalign cleaning crystals
Invisalign describes the crystals as a daily cleaner, so once a day is the usual routine. A 300 g bottle lasts about 60 days at that rate. If you’re on a tighter budget, soaking every other day and brushing daily still keeps most aligners in good shape, especially since you switch to a new set every one to two weeks.
Invisalign cleaning crystals vs tablets vs other cleaners
There’s more than one good Invisalign cleaner. The right choice depends on your budget, your routine and how much staining you deal with.
| Cleaner | How it works | Soak time | Best for | Watch out for |
|---|---|---|---|---|
| Invisalign cleaning crystals | Oxygen-based powder dissolved in warm water | 15 min | Daily cleaning, odour, light stains; made for aligners | Higher cost than generic options |
| Invisalign cleaning tablets / aligner cleaner tablets | Effervescent tablet fizzes and releases cleaning agents | Usually 5–15 min (check the pack) | Travel, quick daily soaks, pre-measured doses | Choose ones made for aligners or retainers; check the ingredients |
| Ultrasonic cleaner | Vibrations shake debris loose, used with water or crystals | 5–10 min cycle | Cloudy trays, heavy build-up | Upfront cost; still brush daily |
| Clear unscented soap + soft brush | Mechanical cleaning | No soak | Everyday cleaning, cheapest option | Doesn’t lift deep stains on its own |
| Denture cleaners | Strong cleaning tablets made for dentures | — | Not recommended | Dental guidance advises against using them on aligners |
Verdict: Invisalign cleaning crystals and aligner cleaning tablets do the same basic job. Crystals are made specifically for Invisalign plastic and are easy to use at home every day. Tablets are pre-measured and easier to carry, so many people use crystals at home and tablets on the go. A review of aligner cleaning methods cited by Healthline found that effervescent tablets combined with brushing gave the best results, with brushing alone close behind, so whichever soak you choose, keep brushing.
What about home remedies?
Some orthodontists suggest occasional home soaks when you run out of cleaner:
- Diluted white vinegar (roughly 1 part vinegar to 3 parts lukewarm water) for 15–20 minutes helps dissolve mineral build-up
- Baking soda dissolved in water is a mild, low-cost soak for freshening trays
Treat these as stop-gaps rather than your main Invisalign cleaning routine, rinse very well afterwards, and check with your orthodontist before using anything stronger, such as hydrogen peroxide.
How to fix stains, cloudy trays and odour
Already dealing with trays that look or smell less than fresh? Here’s how to rescue them.
How to remove stains from Invisalign
- Soak the aligners in an Invisalign cleaner (crystals or tablets) for the full 15 minutes.
- Brush gently with clear soap, focusing on the stained areas.
- Repeat once a day for two to three days.
Light yellowing usually fades with this. Deep stains from coffee, tea or curry may not disappear completely, but you’ll be moving to a fresh set within a couple of weeks. The real fix is prevention: drink only water while your aligners are in, and rinse your mouth before putting them back after eating or drinking anything else.
How to clean cloudy Invisalign trays
Cloudiness is mostly dried plaque and mineral deposits, so you need to dissolve them, not scrub them:
- Soak in dissolved cleaning crystals for 15 minutes, or run them through an ultrasonic cleaner with crystals added.
- If they’re still cloudy, try a diluted white vinegar soak (1 part vinegar, 3 parts lukewarm water) for 15–20 minutes to break down mineral build-up.
- Brush very gently with a soft brush and clear soap.
- Rinse well.
If you live in a hard-water area, rinsing with filtered or bottled water can help stop the cloudiness coming back.
How to remove odour from Invisalign
A bad smell means bacteria are growing on the plastic. To get rid of it:
- Soak in Invisalign cleaning crystals or tablets for 15 minutes; the oxygen-based formula targets odour-causing bacteria
- Brush the inside of the trays thoroughly, where most bacteria live
- Clean your case too, since a dirty case reinfects clean aligners
- Brush your tongue and stay hydrated, because a dry mouth makes odour worse
If the smell keeps coming back even with a daily soak, mention it to your orthodontist or dentist; ongoing bad breath can have causes beyond your aligners.
Invisalign cleaning mistakes to avoid
Most damaged aligners come from good intentions and the wrong product. Avoid these:
- Hot or boiling water. Heat warps the plastic, and a warped tray won’t move your teeth as planned. Always use lukewarm or warm water.
- Toothpaste. It’s abrasive, scratches the surface and makes trays cloudy faster.
- Coloured or scented soap and mouthwash. Dyes can stain the plastic, and alcohol-based mouthwash can damage it.
- Denture cleaners and harsh chemicals. Bleach, strong denture tablets and household cleaners are too aggressive for aligner plastic.
- Hard-bristled brushes. Scrubbing hard leaves scratches that trap plaque.
- Drinking anything but water with aligners in. Sugary or coloured drinks get trapped against your teeth, raising the risk of stains and tooth decay.
- Rinsing instead of cleaning. Rinsing is a quick refresh, not a clean. Brush and soak daily.
- Forgetting the case. A dirty case puts bacteria straight back onto clean aligners.
Your daily Invisalign cleaning routine
Here’s a simple routine that fits around a normal day:
| When | What to do | Time |
|---|---|---|
| Morning | Remove aligners, soak in cleaning crystals during breakfast, brush and floss your teeth, rinse aligners, put them back | 15 min soak (while eating) |
| After every meal or drink | Rinse aligners, brush or rinse your teeth, put aligners back | 2 min |
| Evening | Brush aligners with clear soap, rinse, brush and floss your teeth | 2 min |
| Every few days | Wash the case with warm soapy water and air dry | 1 min |
| Every new set | Start fresh; keep your previous set in a clean, labelled bag as a backup | — |
When to see your orthodontist
Cleaning fixes most problems, but book a check with your orthodontist or dentist if:
- An aligner is cracked, warped or no longer fits snugly
- Stains or cloudiness don’t improve after several days of soaking and brushing
- You notice persistent bad breath, a bad taste or sore, swollen gums
- You’ve accidentally used hot water or a harsh cleaner and the fit feels different
They can tell you whether to move to your next set early or order a replacement, so your treatment stays on track.
Invisalign cleaning FAQs
How long should you soak Invisalign aligners?
Soak them for 15 minutes in Invisalign cleaning crystals dissolved in warm water. That’s the time Invisalign recommends. Other aligner cleaning tablets vary between about 5 and 15 minutes, so follow the instructions on the pack. Don’t leave aligners soaking overnight.
Can you use Invisalign cleaning crystals daily?
Yes. Invisalign cleaning crystals are designed for daily use, and once a day is the standard routine. Pair the daily soak with gentle brushing for the best results.
Are Invisalign cleaning crystals safe?
They’re made specifically for Invisalign aligners and retainers, so they’re safe for the plastic when used as directed: warm (not hot) water, a 15-minute soak and a thorough rinse afterwards. Don’t swallow the solution, and keep the product away from children.
Can I use Invisalign cleaning crystals on retainers?
Yes. Invisalign cleaning crystals work as an Invisalign retainer cleaner too, including Vivera retainers and most other clear plastic retainers. The same method applies.
Invisalign cleaning crystals vs tablets: which is better?
Both clean well. Crystals are made for Invisalign plastic and suit a daily routine at home. Tablets are pre-measured and easier to carry when travelling. Whichever you pick, brushing your aligners is just as important as the soak.
Can I clean Invisalign with toothpaste?
No. Toothpaste is abrasive and leaves tiny scratches that make aligners cloudy and give bacteria more places to stick. Use clear, unscented liquid soap instead.
How do I keep my Invisalign aligners clear?
Rinse them every time they come out, brush them daily with clear soap, soak them once a day, drink only water while wearing them, and never use hot water. Clear aligners stay clear when plaque and minerals never get the chance to harden.
What’s the best way to clean clear aligners on holiday?
Pack a travel kit: a spare soft brush, a small bottle of clear soap, a few cleaning tablets or crystal sachets, and your case. Rinse with bottled water if you’re unsure about the local tap water.
Keep them clean, keep them clear
The best Invisalign cleaner is a routine you’ll actually stick to: rinse every time, brush gently every day, and soak for 15 minutes once a day in Invisalign cleaning crystals or tablets. Skip the hot water and toothpaste, store your aligners in their case, and your trays will stay clear, fresh and invisible right through to your last set.
Also Read: The Ultimate Guide to Whole House Furniture Packages
Sources
- Invisalign Cleaning Crystals+ product page (Invisalign): usage instructions, soaking time, ultrasonic use, pack size
- How to clean Invisalign (Healthline): daily cleaning routine, products to avoid, cleaning-method study
- How to Use Invisalign Cleaning Crystals (Roeder Orthodontics): additional orthodontist guidance
